The funding you need might be just one video away. Emma Bracegirdle explains how your smartphone can unlock the school and PTA’s fundraising potential
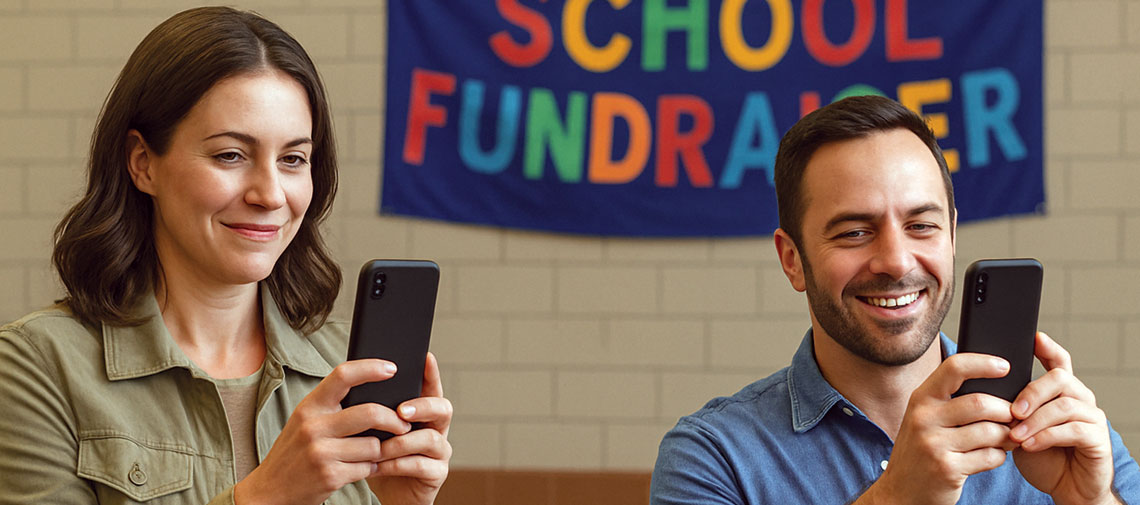
In a world where competition for funding is fierce, video has become an essential tool. In fact, some grant funders are now only accepting applications on video. It may sound daunting if you’re a parent or member of school staff with no experience, but there's the good news: you don’t need expensive equipment or professional expertise to create compelling videos–just the smartphone in your pocket!
Why video works for school fundraising
Video brings your school’s story to life in ways that written applications can’t match by allowing you to highlight your school’s unique character and needs. It allows potential grant funders and donors to see your impact firsthand, showing rather than telling how your initiatives make a real difference to pupils. Unlike written content, video creates authentic moments that connect emotionally with viewers. When used as part of a grant application, it can provide clear evidence, demonstrating exactly what you want to do and how any funds will be used. Video also improves accessibility by reaching people who might not engage with written content. It helps maximise your resources, since you can use your videos across multiple platforms, from social media to school websites and parent communications. Pick up your smartphone, follow these simple guidelines and start telling your school’s story.
TOP TIP: Use video to document the ‘before’ stages of any project. Whether you’re fundraising for playground improvements, technology upgrades or building repairs, capturing the current situation creates a compelling case for support. It allows you to showcase ‘before and after’ images once your project is complete.
Five steps to creating effective fundraising videos
Step 1: Understand what your funder wants to see
Before hitting ‘record’, think carefully about what the potential funder or donor is looking for. Most want to see clear impact–how your initiative will make a difference; genuine need–why funding is necessary and urgent; sustainability–how your project will continue beyond the initial funding; and community involvement–who supports your initiative and why. Tailor your video content to address the specific need while highlighting the educational benefits and impact on pupils.
TOP TIP: If you are applying for grant funding, review the funder’s application guidelines and previous successful project before planning your video. Look for key words and themes you can address visually in your content.
Step 2: Plan your content
Decide what types of footage will best tell your story: pupil voices through brief interviews where they explain what the initiative means to them; behind the scenes showing your current facilities or programme in action; a day in the life following a pupil or teacher through activities; before and after footage if you’re seeking to improve something; or expert insight from teachers or staff about educational benefits. Remember that emotional and informative content both have their place. A video showing children engaging with your music programme creates an emotional connection, while footage of outdated instruments explains the practical need for funding.
TOP TIP: For school trip fundraising, include footage from previous similar trips to show the educational value, and have students explain what they hope to learn from the experience. Watch an example at tinyurl.com/yx9sxfub
Step 3: Create quality video with your phone
Phone set-up and technical tips
- Set your phone to record at the highest quality (4K at30fps or at least1080p HD)
- Film in landscape mode for most applications (unless filming specifically for social media)
- Clean your lens before filming (a standard glasses cleaning cloth is ideal for this task)
- Turn on airplane mode to avoid interruptions
- Use grid lines to help with framing (Google how to add these on your phone’s model).
Lighting and audio
- Use natural light whenever possible–film near windows or outdoors
- Avoid harsh overhead lighting that creates unflattering shadows
- Stay away from noisy areas–poor audio can ruin otherwise great footage
- Get as close as possible to your subject for better sound
- If possible, use an inexpensive external microphone (some are available for under£20).
Framing and stability
- Avoid cluttered or distracting backgrounds
- Hold your phone steady or use a simple tripod (phone tripods are available for under£15)
- Frame people slightly off-centre for more interesting composition
- Film at the eye level of your subjects–get down to child height when filming pupils
- Avoid using digital zoom as it reduces quality–move physically closer instead.
Interview techniques
- Stay natural: Treat it as a chat rather than a formal interview
- Use open questions: Ask: ‘How does this project help you learn?’ rather than: ‘Do you like this project?’
- Follow up: Listen carefully and ask follow-up questions based on the responses
- Include detail: Ask interviewees to repeat the question in their answer for context
- Record twice: If time allows, film the same interview twice for more editing options.
TOP TIP: When filming pupils for building repair or facility improvement fundraising, capture footage of them using the current spaces naturally, rather than asking them to exaggerate any problems.
Step 4: Ethical considerations for school videos
Always maintain high ethical standards when filming in schools. Obtain proper consent by ensuring parents/guardians have given written permission for every child who appears. Co-create where possible by involving pupils and teachers in planning what to film. Maintain transparency by being clear about how and where the video will be used. Let participants see the final video before submission. Protect privacy by being aware of any safeguarding concerns in your school community.
Step 5: Putting it all together
Once you’ve collected your footage, keep it concise – aim for a video length of three minutes at most. Don’t worry if it isn’t perfect, as long as it conveys your message clearly. Add subtitles to ensure accessibility for all viewers. Think about how you can repurpose your video for future projects, making it more versatile and valuable.
After a successful fundraising campaign, create a follow-up video showing how the funds were used and the impact they made. This accountability helps build trust with funders for future applications.
PRO TIP: While filming for your application, also record a brief ‘thank you’ that you can send if your application is successful–funders love to see the excitement when you share good news!
- Emma Bracegirdle is founder of The Saltways, which helps charities create powerful stories through film and animation.
Phone to film
Visit The Saltways to download a comprehensive PDF guide to making video that’s packed with expert tips and inspiring examples.
Sign up to FundEd to access grants and funding support